Getting started
Be sure to install the Auto-Battle Framework following the steps in How to install Auto-Battle Framework?.
It is highly recommended that you start from the test scene included in "Assets/Auto-Battle Framework/Scenes/SampleGame". Just open the scene, make a copy using "File/Save As..." and start editing the game from that point.
In case you want to use a scene from scratch, follow the steps below:
Drag the prefab "Auto-Battle" to the scene. It is located in the folder "Assets/Auto-Battle Framework/Prefabs/Battlefield". We recommend to set its position to (0,0,0).
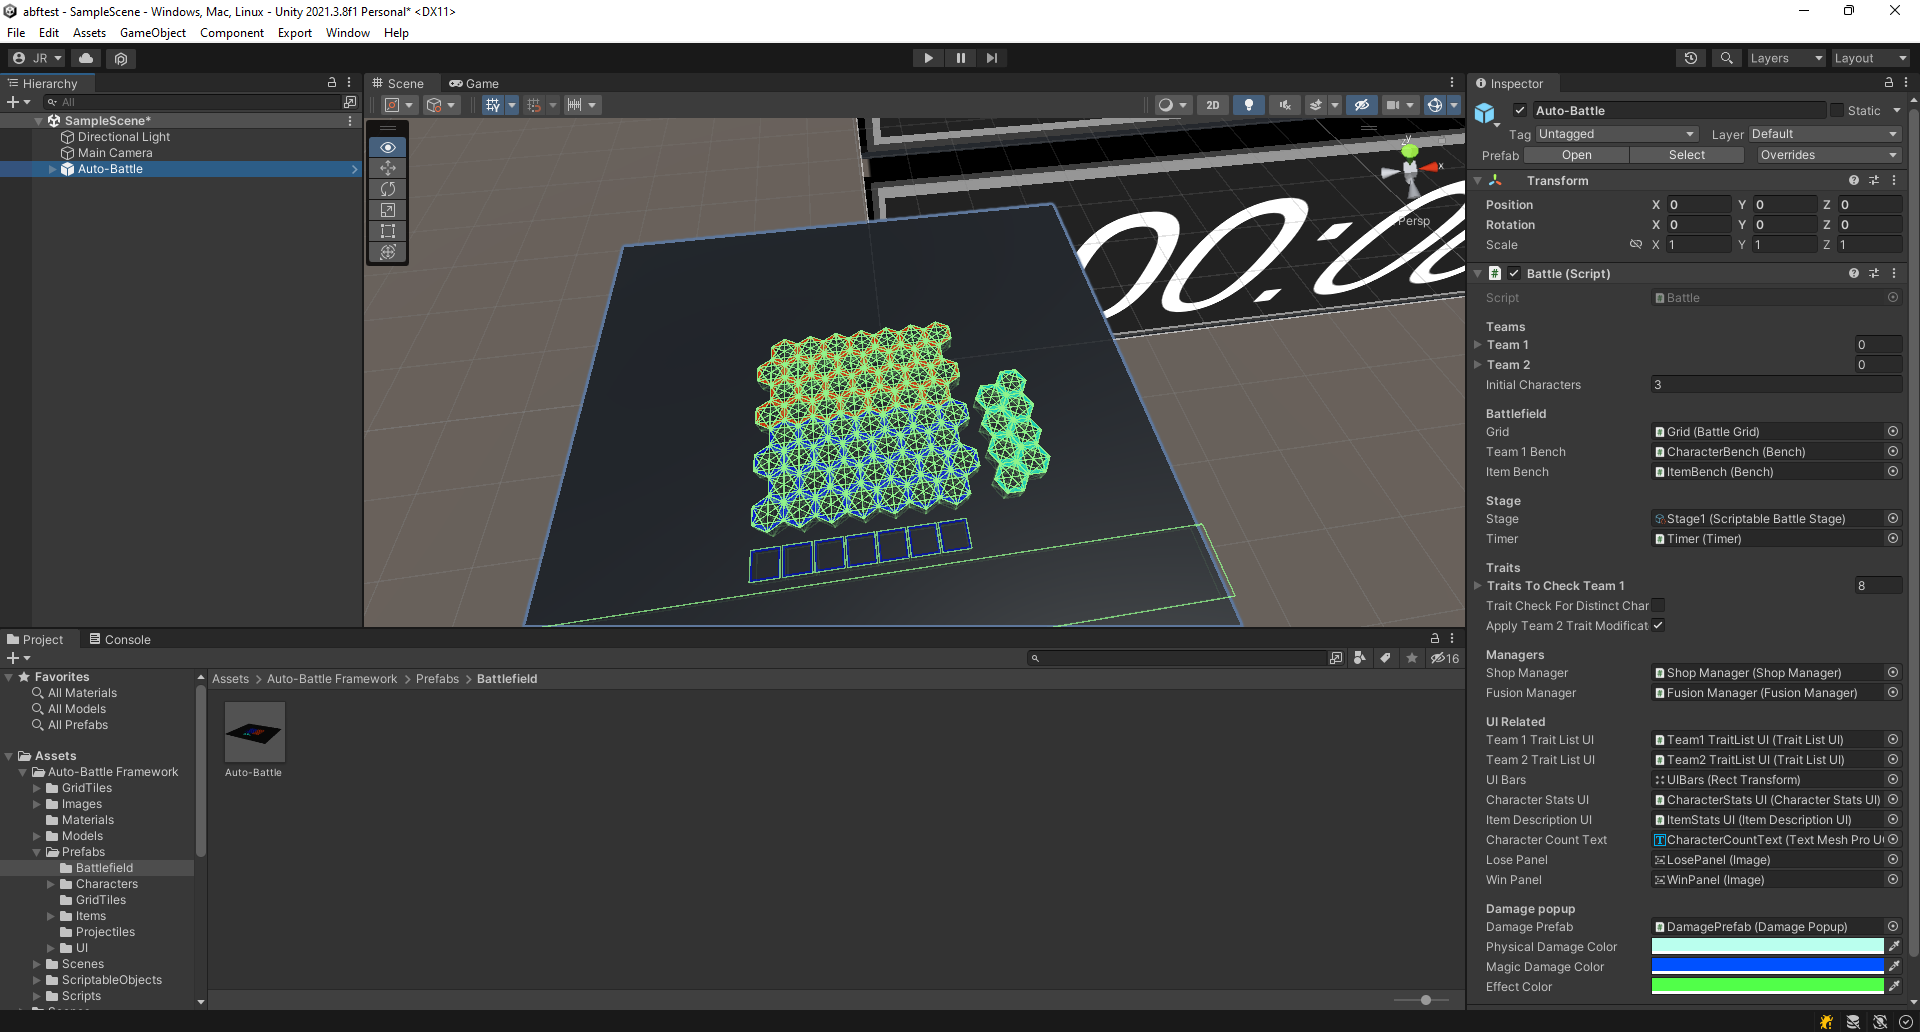 Drag the prefab to the scene.
Right click on the newly dragged prefab, select "Prefab/Unpack completely".
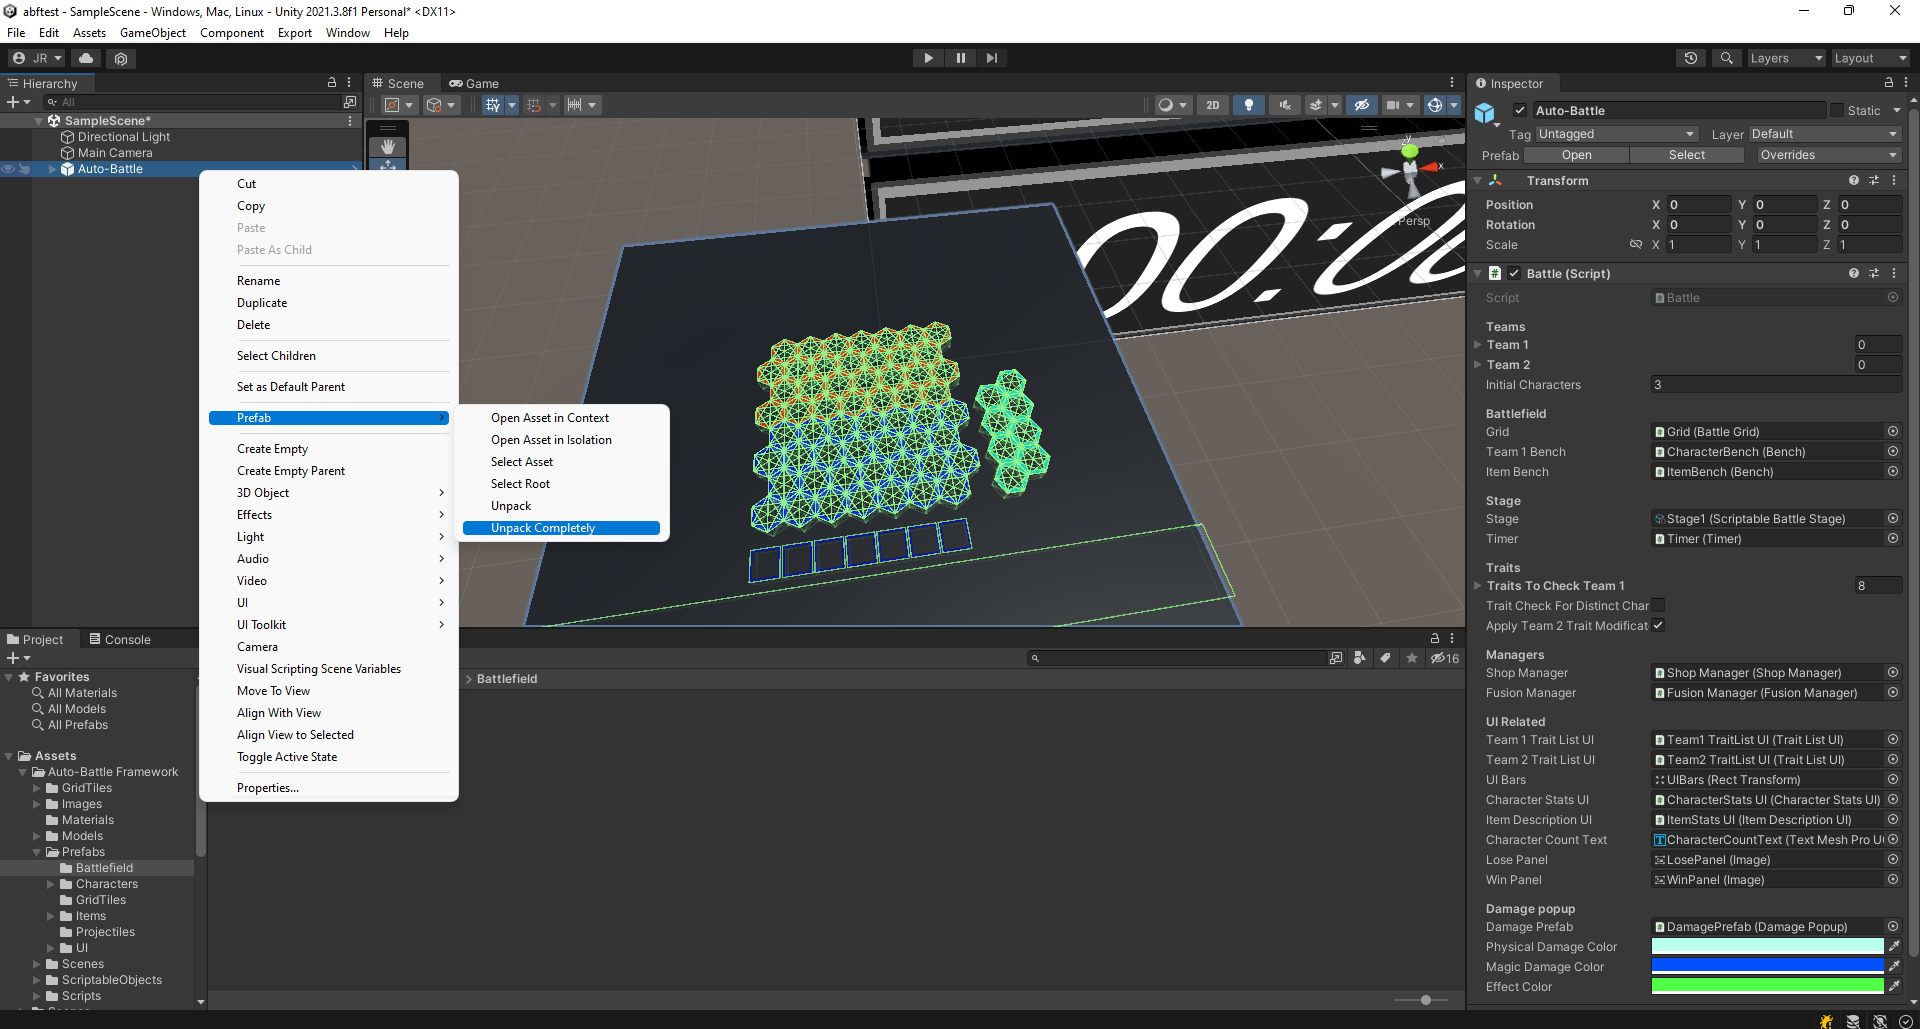 Unpack the prefab.
Open the Auto-Battle object hierarchy in the scene, select the "Floor" object.
- Note that the surface to be used for navigation needs to have the "BattleSurface" layer.
- If you want to use a different surface make sure it is on the "BattleSurface" layer, is set to Navigation Static and has a collider.
- Also keep the "SellZone" object as a child in the hierarchy.
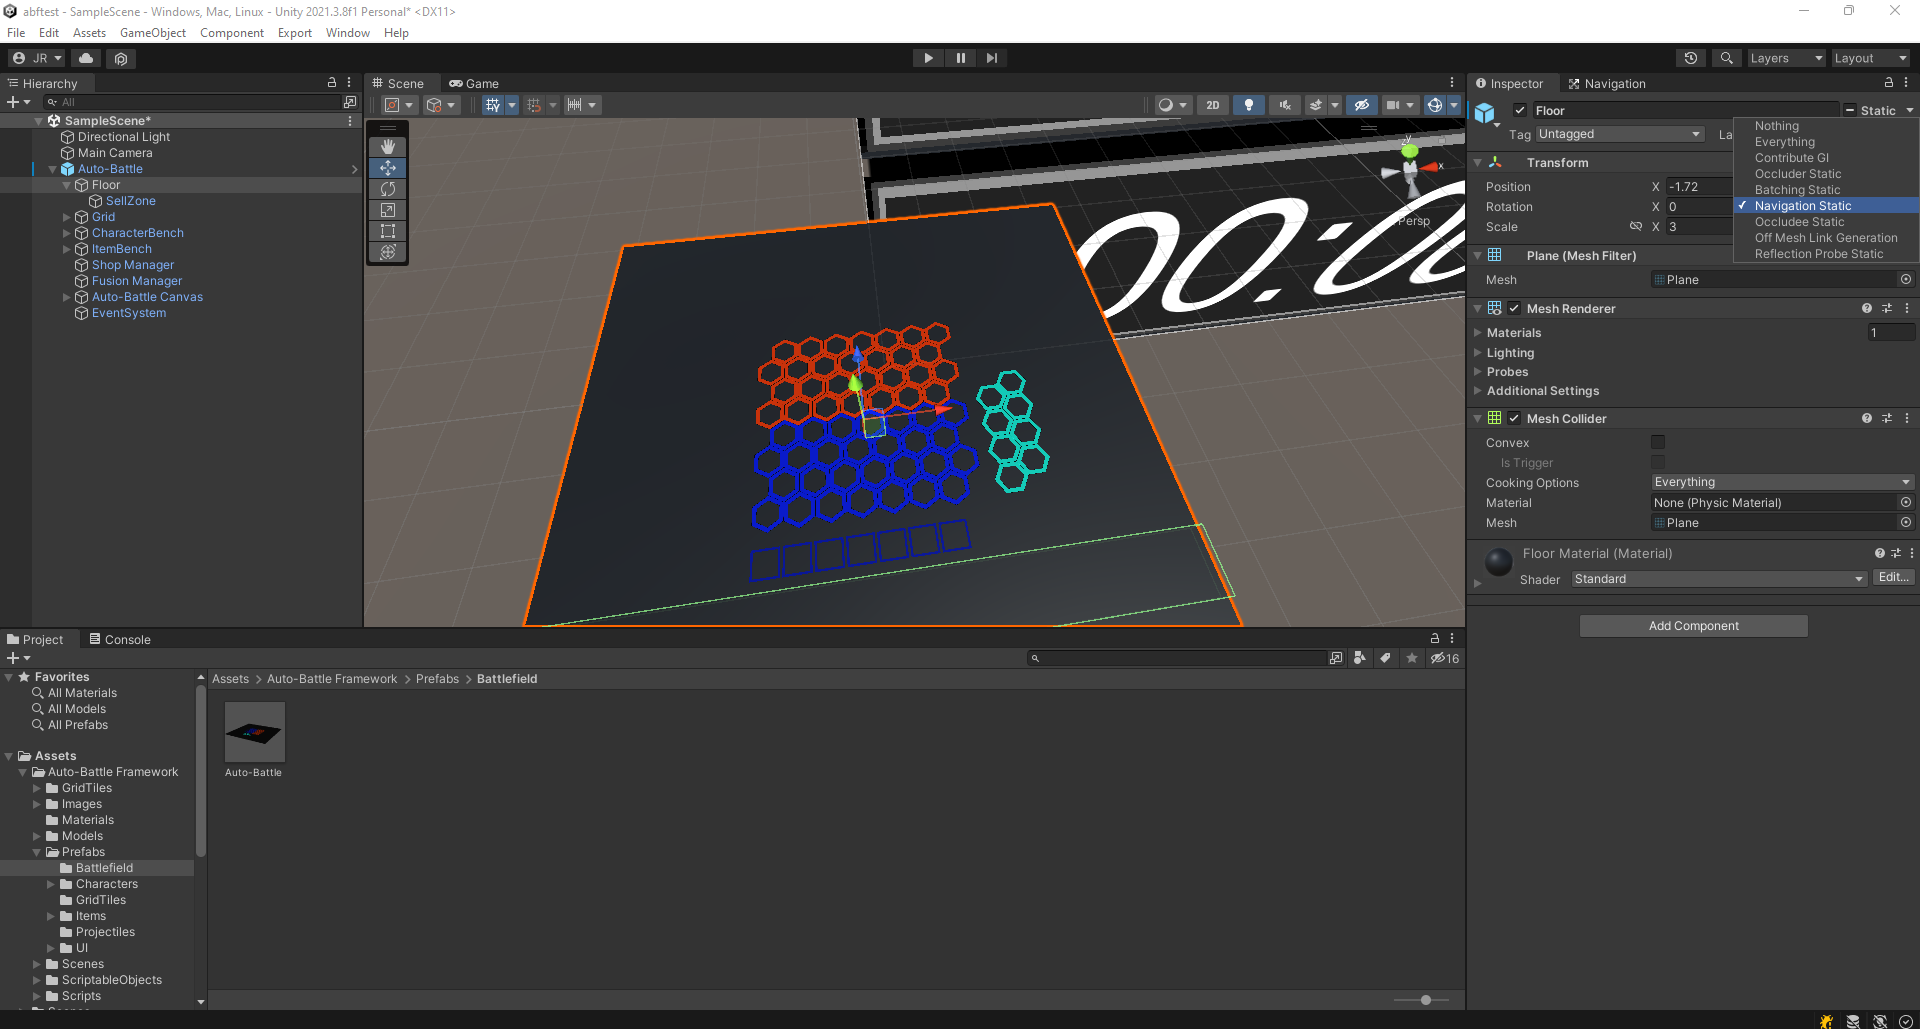 Select the surface, make sure it is on the "BattleSurface" layer and set to Navigation Static.
It is necessary to bake the navigation surface. Open the Navigation window in "Window/AI/Navigation".
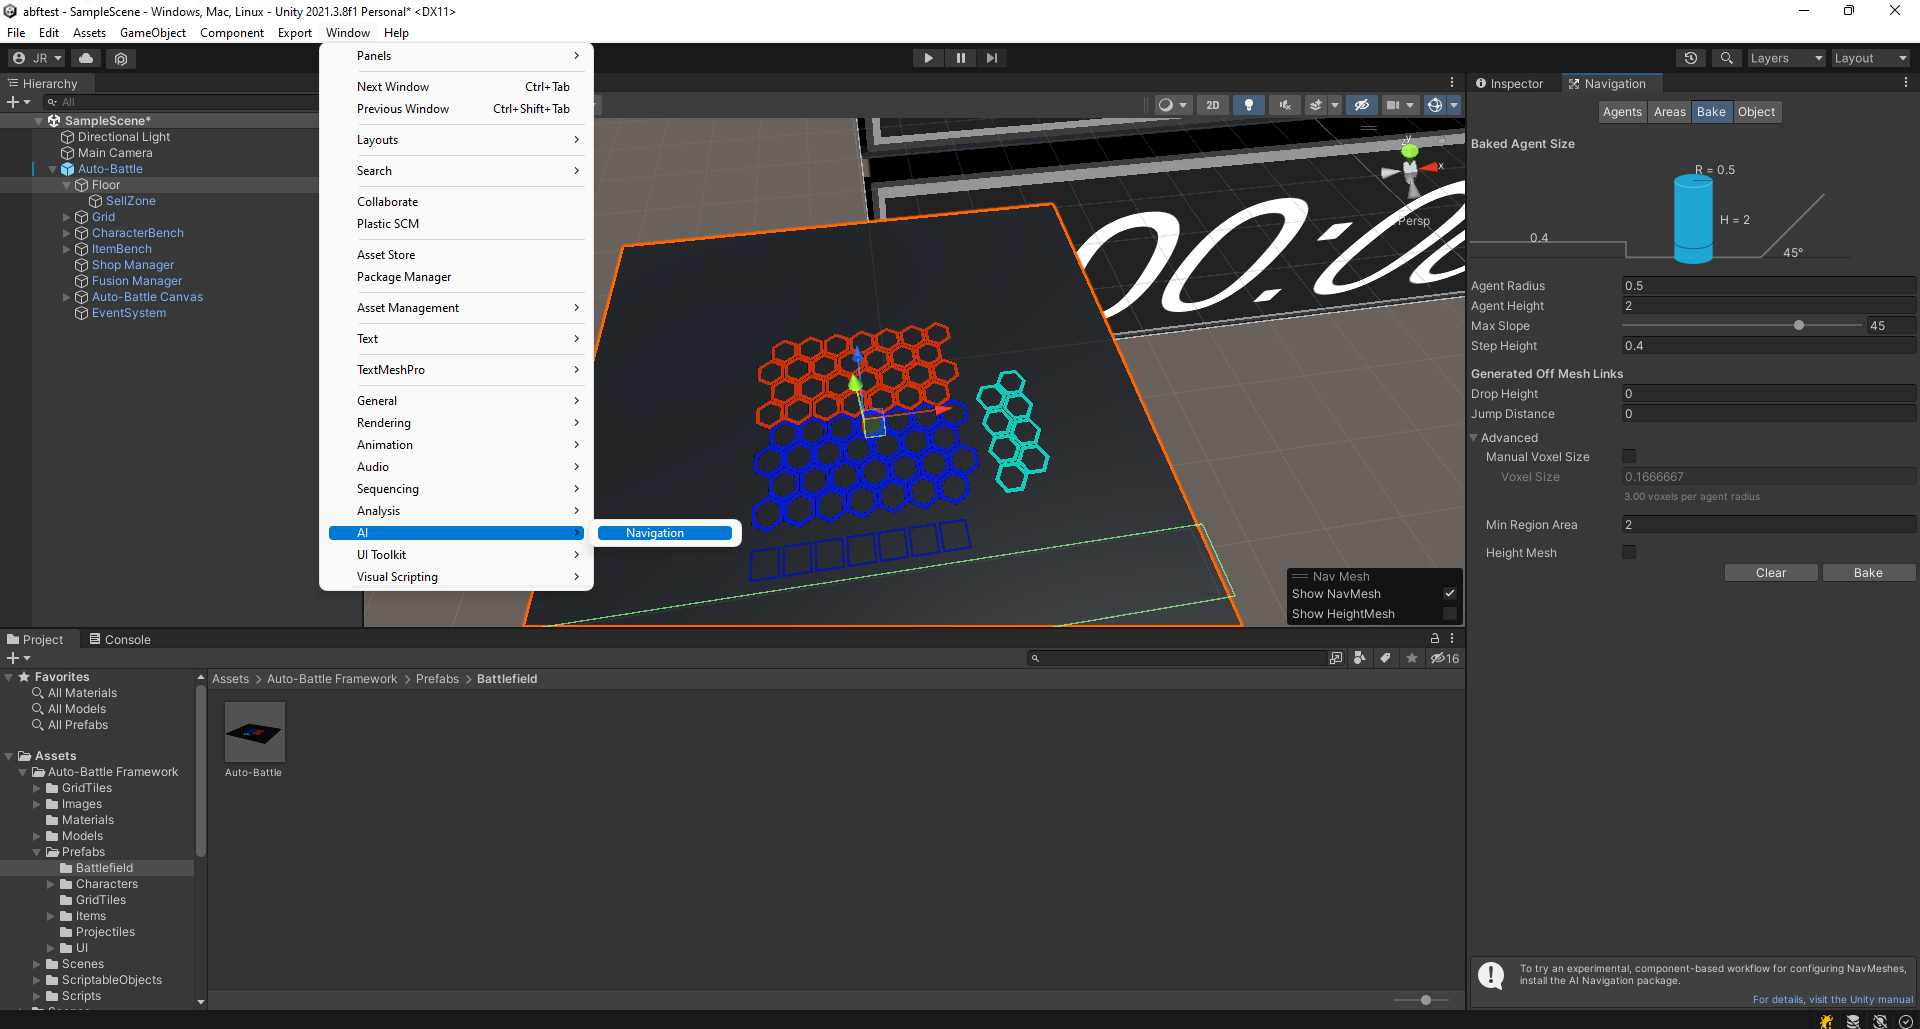 Location of Navigation window.
In the navigation window, go to Bake and click on the "Bake" button at the bottom.
- If you notice that the navigation surface is too high from the surface, check the Manual Voxel Size option, and try to reduce the Voxel Size (0.01666667 is used in the sample scene.)
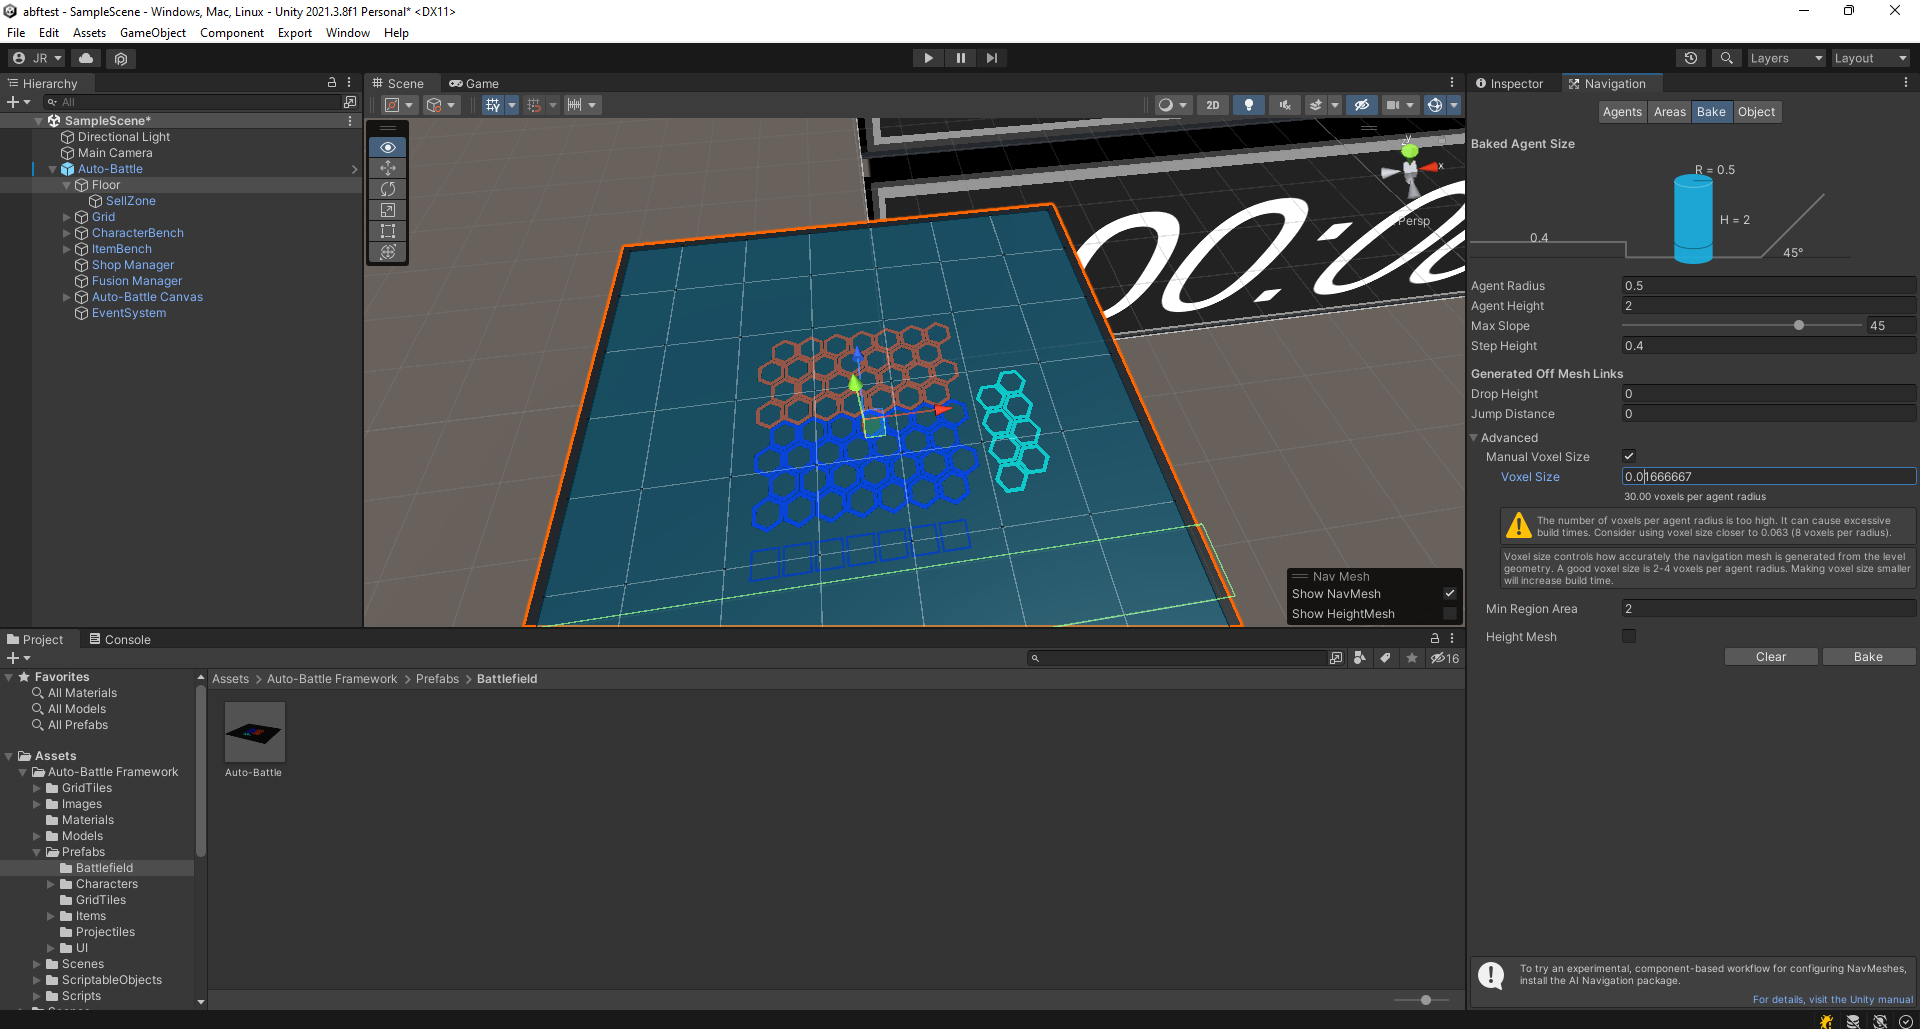 Baking the navigation surface. Voxel size set to 0.01666667.
- If you notice that the navigation surface is too high from the surface, check the Manual Voxel Size option, and try to reduce the Voxel Size (0.01666667 is used in the sample scene.)
Move the camera so that it points to the battlefield.
- If the prefab position was set to (0,0,0), we recommend to set the camera position to (-2.405312,39.88669,-35.4138), and its rotation to (38.287,0,0).
- This matches the SellZone collider to the store interface, as well as matching the test scene.
If the you have followed the steps correctly, you should have reached a point very similar to the test scene and it should be playable.
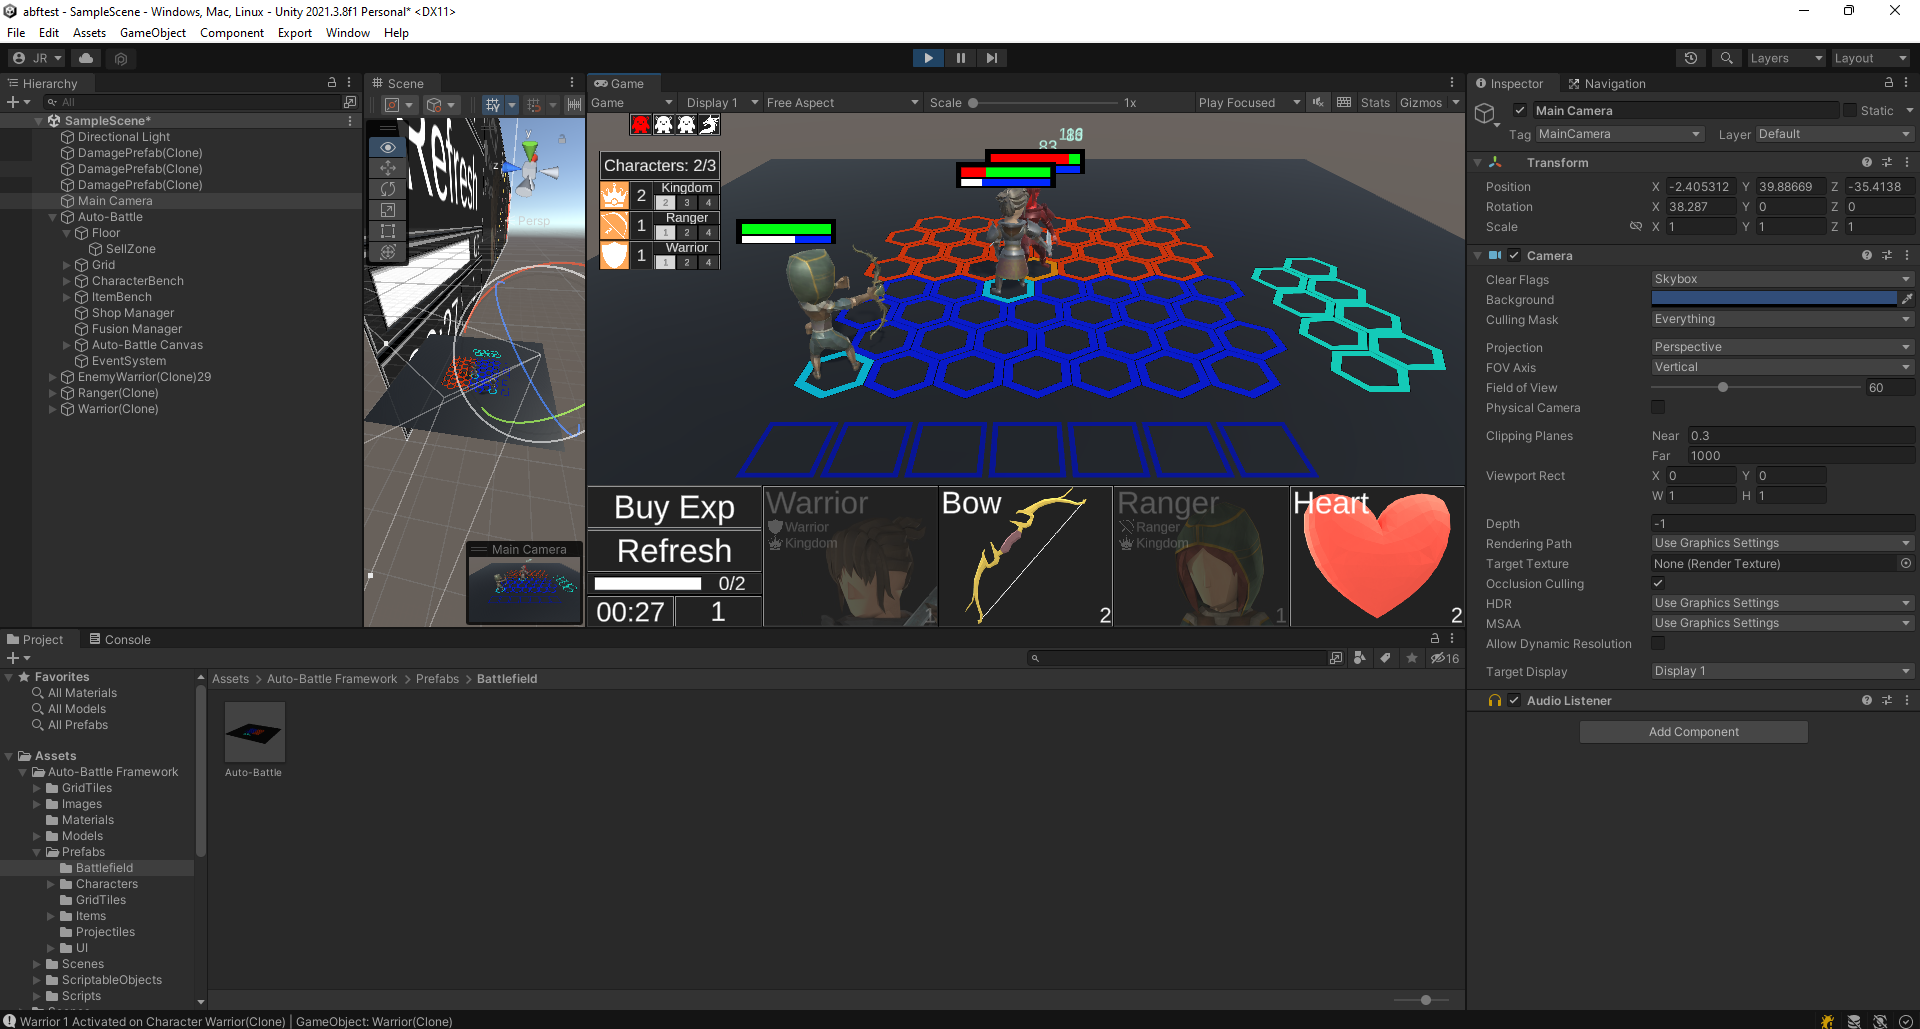 Game is playable.
The following sections will show you how to modify the battlefield, create characters, items, etc.