Create a new Battle State
In this section we will create a new Battle State from scratch.
The new state will simply expose a countdown, and when it reaches zero cause the next state to play.
- The drag of GameActors are forbidden.
- The Character should do nothing.
The following parts of the code are very important:
- Restart and start the timer. If the status depends on the timer, it is important to reset the timer and make it start.
// Reset and start the timer.
            Battle.Instance.timer.ResetTimer(time);
            Battle.Instance.timer.StartTimer();
- Move to the next state.
Battle.Instance.stage.NextState();
Follow these steps to create a new Battle State:
1. Create a new C# script called FightCountdownState. Read the script comments for more information.
using AutoBattleFramework.BattleBehaviour.GameActors;
using UnityEngine;

namespace AutoBattleFramework.BattleBehaviour.States
{
    /// <summary>
    /// Displays a short countdown from one phase to the next in the Sell For Text panel.
    /// </summary>
    [CreateAssetMenu(fileName = "FightCountdownState", menuName = "Auto-Battle Framework/BattleStates/FightCountdownState", order = 1)] //Allow the creation of the Scriptable Object.
    public class FightCountdownState : BattleState
    {
        // In this phase character or item movements are forbidden.
        public override bool AllowFieldDrag(GameActor actor)
        {
            return false;
        }

        // The characters should wait doing nothing.
        public override void CharacterAIUpdate(GameCharacter character)
        {
            // Do nothing.
        }

        // When this state stats, enable the Sell For Text gameobject.
        public override void OnStageStart()
        {
            Battle.Instance.shopManager.shopUI.SellForText.gameObject.SetActive(true);

            // Reset and start the timer.
            Battle.Instance.timer.ResetTimer(time);
            Battle.Instance.timer.StartTimer();
        }


        // When this state ends, disable the Sell For Text gameobject. Then, move to the next state.
        public override void OnTimerFinish()
        {
            Battle.Instance.shopManager.shopUI.SellForText.gameObject.SetActive(false);
            Battle.Instance.stage.NextState();
        }

        // Update the time displayed every frame.
        public override void Update()
        {
            float timeToDisplay = Battle.Instance.timer.timeRemaining;

            float minutes = Mathf.FloorToInt(timeToDisplay / 60);
            float seconds = Mathf.FloorToInt(timeToDisplay % 60);
            string time = string.Format("{0:00}:{1:00}", minutes, seconds);

            Battle.Instance.shopManager.shopUI.SellForText.GetComponentInChildren<TMPro.TextMeshProUGUI>().SetText("Battle starts in: " + time);
        }
    }
}
2. Right click on a project folder and click on "Create/Auto-Battle Framework/BattleStates/FightCountdownState". This will create a new Fight Countdown State.
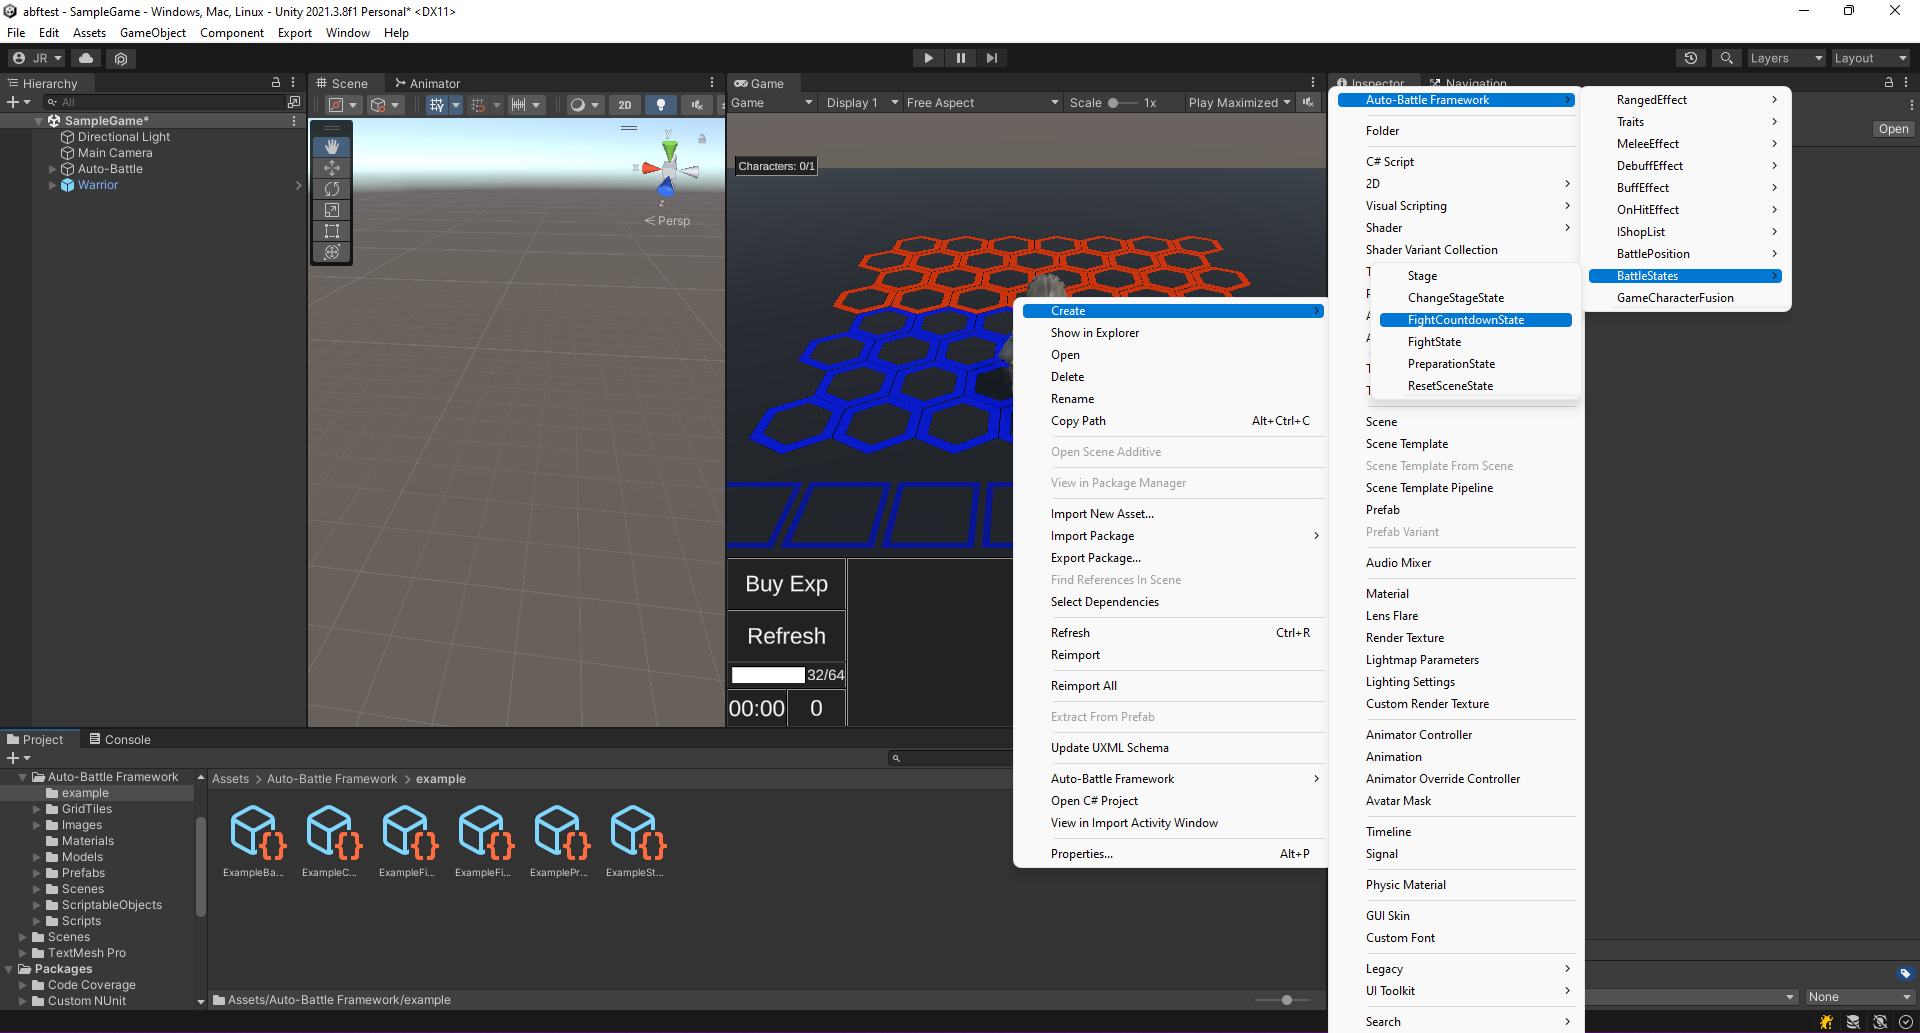 Create the Fight Countdown State.
3. Select the newly created Fight State. The following can be configured in its Inspector:
- Time: Duration of the state.
- Show in UI: If true, show the state in the Stage UI. Leave it unchecked.
- UI Prefab: Prefab that represents the image of the state. If Show in UI is disabled, attach the EmptyImage prefab, found in "Auto-Battle Framework/Prefabs/UI/EmptyImage" to avoid errors. Otherwise you can use any prefab in the same folder. If you want to modify a prefab we recommend you to make a duplicate of it (CTRL + D) and modify it from there.
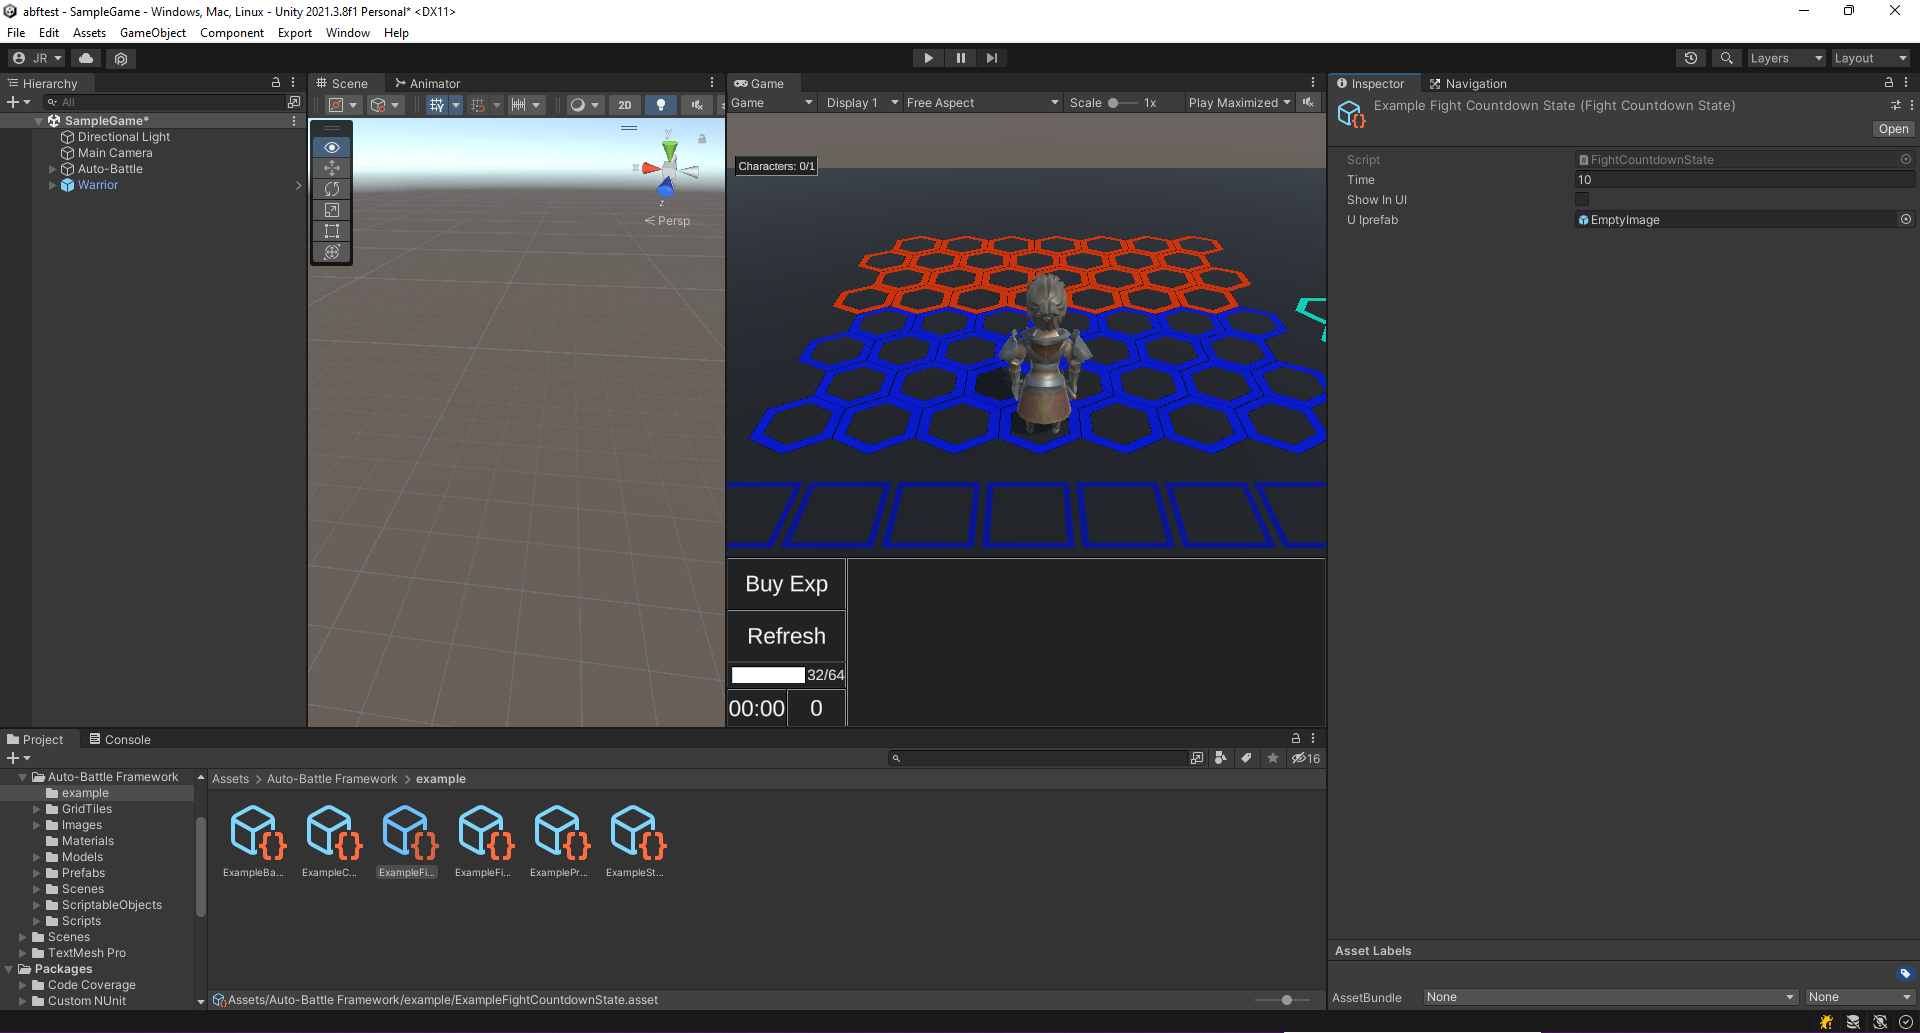 Fight Countdown configuration. Select a Battle Stage to be played.
4. The state is ready to be added to a Battle Stage, right behind the Fight State This is explained in detail in the section Creating a new Battle Stage.
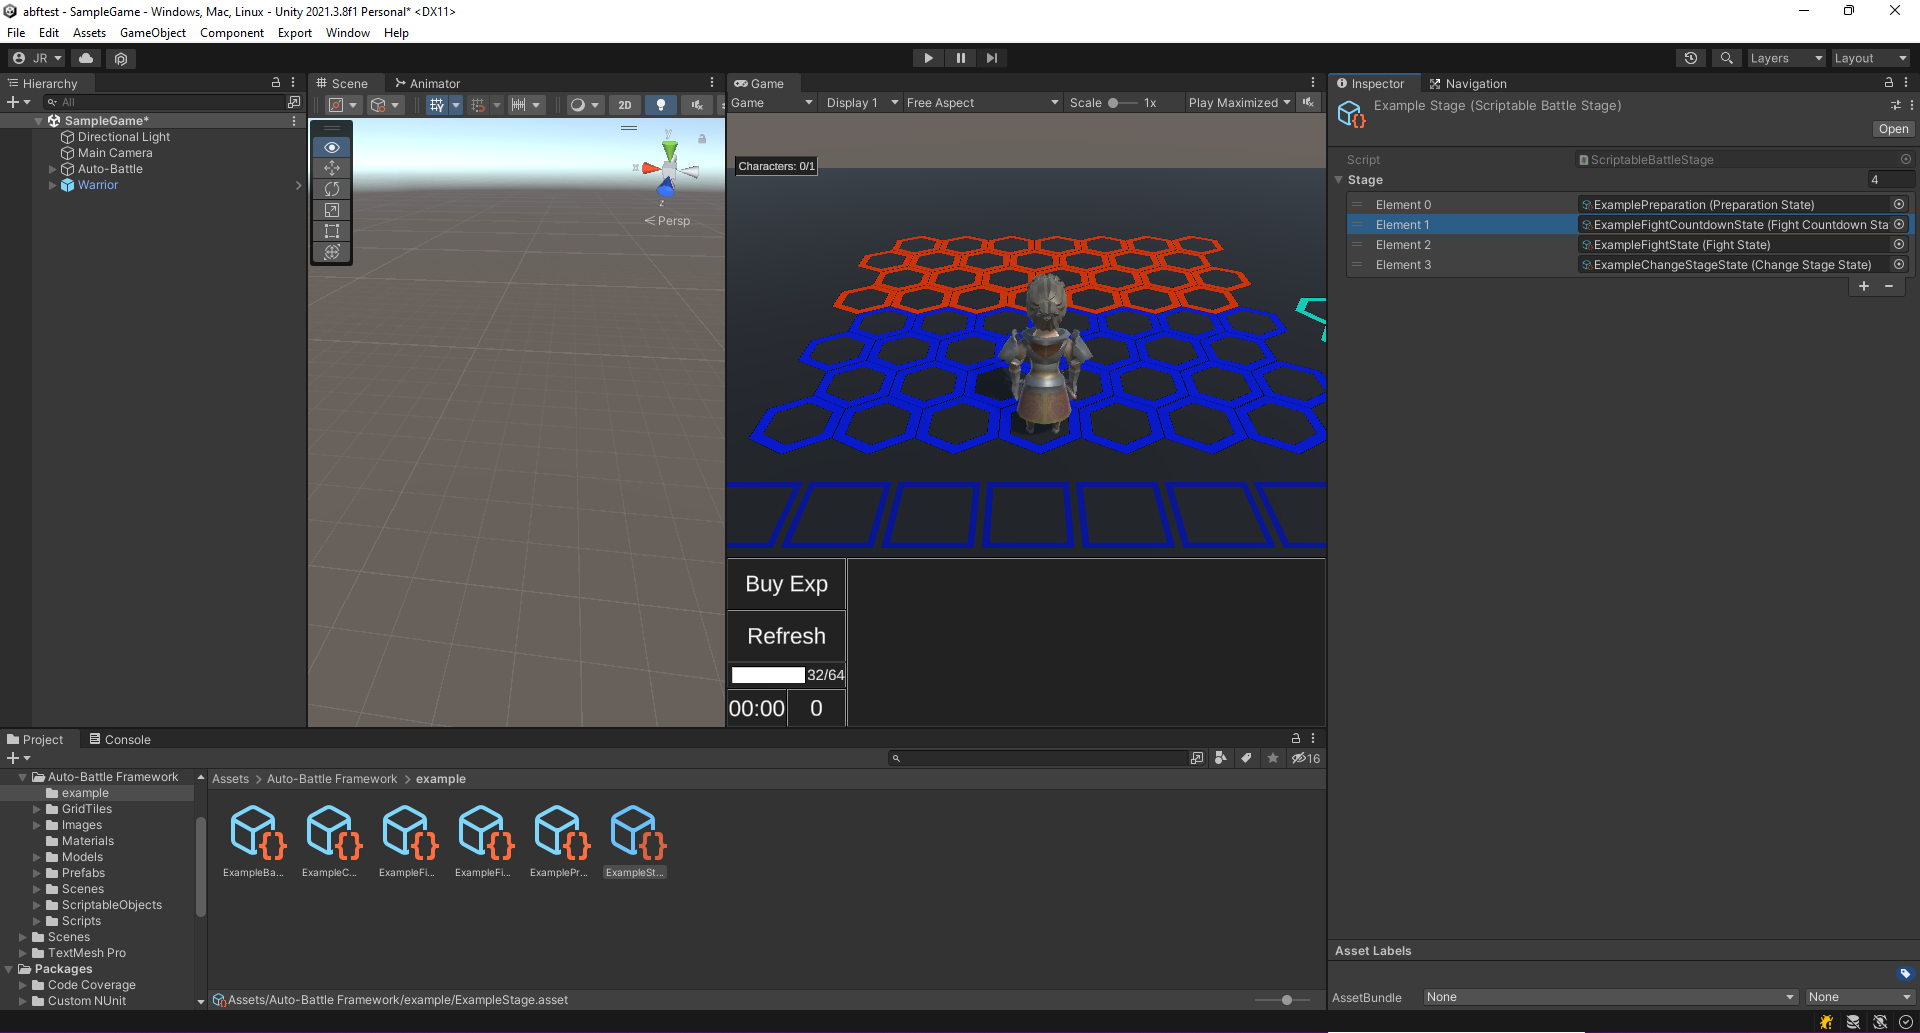 Add the Fight Countdown State to the Battle Stage.